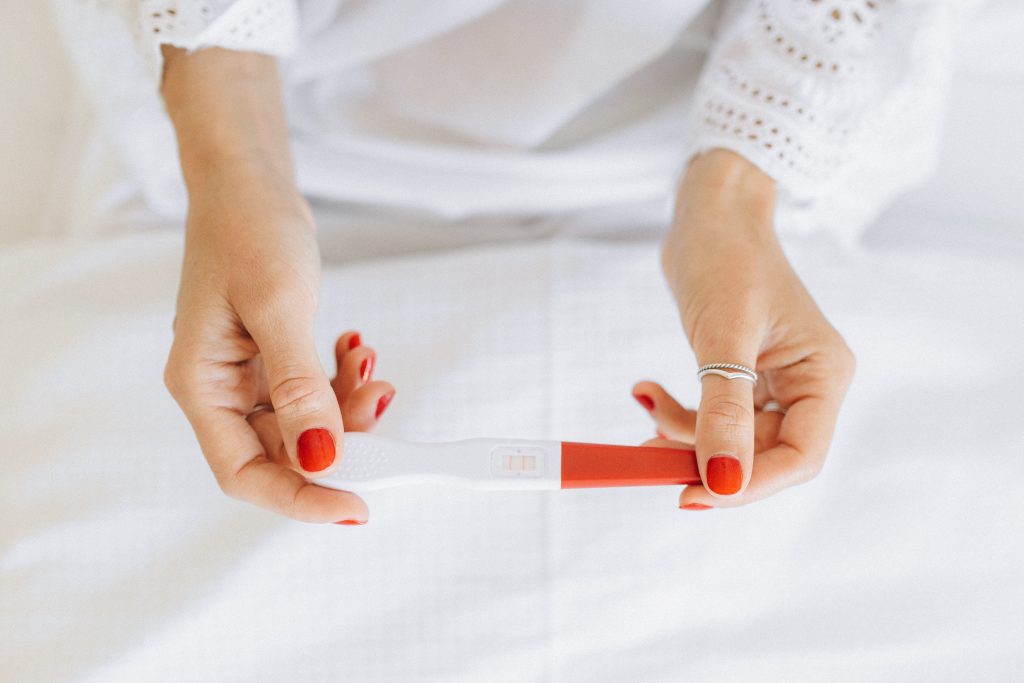
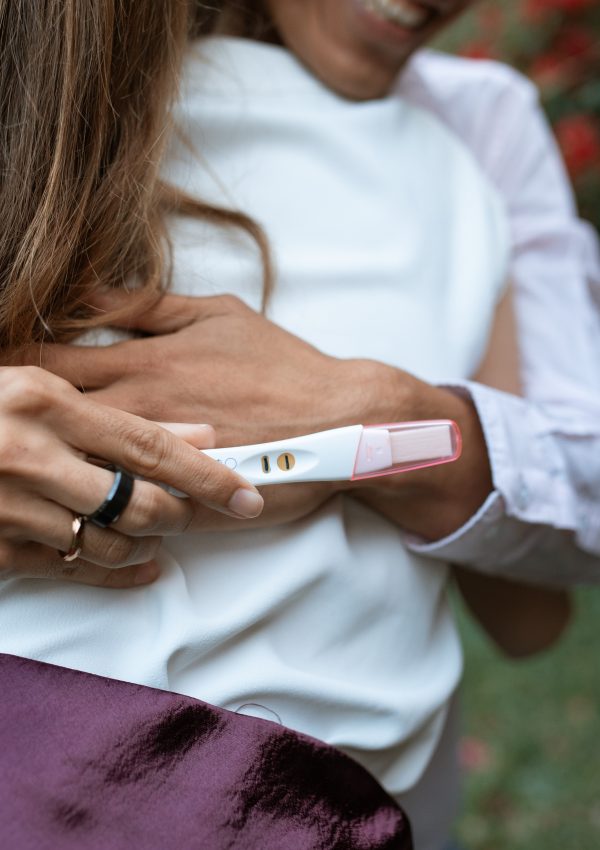
Have you been trying to conceive and are looking for an ovulation test that suits your needs? Here are the 5 best ones money can buy!
This post may contain affiliate links, which means I’ll receive a commission if you purchase through my links, at no extra cost to you. Please read full disclosure for more information.
When you’re trying to conceive the end goal is to get pregnant as fast as possible. So naturally, you’re going to want to find some ways to track your cycles and more importantly, track your fertile window. Cycle tracking apps are a great way to start but you’ll really need to go a step further by purchasing an ovulation test.
Ovulation tests work by detecting the hormones that are released during your fertile window. Your fertile window is the length of time during your cycle where you can get pregnant. It only lasts for about 6 days and can vary from cycle to cycle. So the ovulation tests are great devices that can tell you exactly when these days are.

This post is all about the best ovulation tests and how to use them.
What is an Ovulation Test?
An ovulation test is a device that measures one or two key hormones that are released during your fertile window: estrogen and LH. Estrogen is produced when you’re considered fertile and LH is produced in order to trigger ovulation. The LH increase is also known as the “LH Surge”, which means you’re at peak fertility.
Ovulation tests are incredibly useful tools to use while tracking your cycles. Cycle tracking apps are great too but they usually predict your fertile days under the assumption that you have a 28 day cycle. They get more accurate as you enter more information but they still only predict. You get the best use out of them when you use them in conjunction with an ovulation test.
The Best Ovulation Tests
Clearblue Advanced Digital Ovulation Test
The Clearblue Advanced Digital Ovulation Test is amazing mainly because it gives you clear results and it’s easy to use. If you’re already tracking your cycles in a cycle tracking app, this ovulation test is perfect.

How To Use
The best way to use the Clearblue Ovulation Test is by starting with your average cycle length. If you have to take an estimate, use the cycle length that’s the shortest of your last 6 cycles.
After that, you’ll want to open the directions and look for the chart that lays out when you should start testing depending on your cycle length. For instance, if you have a 28 day cycle, the chart will tell you to start testing on day 8. Cycle day 1 is the first day of your period.
When it’s time to test, unwrap the test strip and remove the cap. Then stick it into the reader. There should be an arrow on both the test strip and the reader so you just have to make sure the arrows are facing each other.
If you did that correctly, the reader should turn on. Next, grab a Dixie cup or another container to pee in and dip the testing strip in the urine. Hold it there for 20 seconds then take it out and lay it on a flat surface. You should be able to read your results after 5 minutes.
You can only get 1 of 3 results: A low, a high, or a peak. A low reading is an empty circle which means you’re not in your fertile window yet. A high reading is a blinking smiley face which means you’re in your fertile window. It’s common practice to time intercourse every other day at this point. A peak reading is a solid smiley face, which means you’re going to ovulate in 12-24 hours.
Once you get the solid smiley, it will display for 48 hours before resetting. So you shouldn’t test again that cycle. Keep in mind that the testing strips are only single-use!
Mira Fertility Tracker
The Mira Fertility Tracker is an easy-to-use tracker that gives you personalized information about your cycles. It’s a good option if you’re looking for a product that’s more comprehensive.

HOW TO USE
After you purchase the tracker, you have to download the Mira Fertility & Cycle Tracker App and create an account. You’ll want to hit “Allow” for the push notifications because that’s how Mira will tell you when to test. The best time to test is first thing in the morning.
On the day your period starts, select that day in the calendar in the app. After that you’ll need to connect the Mira analyzer (the tracker you bought) to the app. Make sure your Bluetooth is turned on then hit “Connect” in the app. You’ll also want to make sure the tracker is turned on.
Now you’re ready to test whenever Mira notifies you. All you have to do is pee in a cup and dip in one of the testing strips you received. You’ll want to make sure the wand is fresh because they’re only single-use. Hold the wand in the urine for 10 to 12 seconds. After that, insert it into the analyzer.
Your results should be ready to read after 15 minutes. After that you can also log multiple symptoms you experience throughout your cycle including whether you got pregnant. Here’s a helpful youtube video in case you need it! Also, if you need extra wands, you can buy them here.
Pregmate Ovulation Test Strips
The Pregmate Ovulation Test Strips are simple strips that detect both your LH and estrogen levels. These are extremely budget friendly and you can buy them in bulk. They even sell them along with pregnancy tests if you’re interested.
They work great for women who don’t have regular cycles. Since you can buy so many and you don’t need to plug them into a reader, you can basically test as often as you want.

HOW TO USE
To use the Pregmate Ovulation Strips, I suggest having that basis of tracking your cycles through an app. If you don’t currently track your cycles, that’s fine. With these, you can begin testing right after your period ends.
All you have to do is unwrap the testing strip and pee into a cup. Once done, dip the testing strip into the urine for 3 to 5 seconds, being careful not to submerge it past the “MAX” line. Then lay the test flat.
In order to read the results, you have to compare the control line to the test line. The details on which line is which should be in the directions. If the test line is equal to or darker than the control line then you’re at your peak fertility. When you see the line getting darker and darker, it’s best to time intercourse during those days.
If you’re having a hard time reading your results, you can always turn to the trying to conceive community and plenty of women will be willing to help!
Easy@Home Ovulation Test Strips
The Easy@Home Ovulation Test Strips are similar to the Pregmate Ovulation Strips except you can use an app to help analyze the results. It’s best not to try to use the Pregmate stips with this app because your results may not be accurate.

HOW TO USE
Right after your period ends, unwrap the test strip and pee in a cup. Once done, all you do is dip the testing strip in the cup of urine for 5 to 10 seconds, being careful not to pass the “MAX” line. Then remove the testing strip and lay it flat for 3 to 5 seconds.
Now you can read your results. Within 5 minutes of receiving your results, you’re going to want to take a picture of it if you’re using the app. Make sure that you’re using the same lighting for all of your tests so that the results aren’t skewed.
If the testing line is equal to or darker than the control line, that means you’re at your peak fertility. Sometimes it’s hard to tell, which is why I think the app is very helpful. It will give you a number based on your results and also label it “low”, “high”, or “peak”.
Once you start receiving “high” results, you’ll definitely want to time intercourse for those days because that’s when you’re fertile. Some women even begin testing twice a day at this point because their LH surge only lasts a few hours.
kegg 2-in-1 Fertility Tracker
kegg is a vaginal fertility tracker that evaluates your cervical fluid to determine your fertile window. It’s a 2-in-1 fertility tracker because it doubles as both a tracker and a kegel ball that you can use to strengthen your pelvic floor. You only have to use it for 2 minutes a day and it connects to an app that you can use to see your results in a graph. This is a great fertility tracker because it’s rechargeable and you can use it daily.

HOW TO USE
The first thing you want to do is download the app, create an account, and connect your kegg to the app. Next, decide on a 2-hour window of time during the day where you know you’ll be available to test. Mornings work best for most people but you want to make sure you’re consistent otherwise your results can be skewed.
Next, make sure the kegg is clean and then turn it on. Then, insert the ball part, leaving the tail outside and facing up. You can do this laying down or standing up, just as long as you stay consistent. You will feel one vibration, which means that the test has started. When you feel two vibrations, that means the test is finished. Three vibrations beans that there’s been an error so you should remove it and try again.
You can follow along in the app to see the progress of the test and also your results. Your results should be displayed in a graph, with your fertile days highlighted. You can also log multiple different symptoms or info like your basal body temperature.
Click here to get a kegg for $50 off! Use promo code “Michelle50”!
Conclusion
Before buying any type of ovulation test you want to make sure you don’t have an underlying condition like PCOS. I’d hate for you to spend money on one and later find out it doesn’t work. It’s best to see an OBGYN if you may suspect you have it just to be on the safe side!
Most of these tests come down to personal preference so always research any product before buying. It’s also smart to start with one or two different ones just so you can get a feel of what works best for you. You can go as cheap or as expensive as you like but all of these products work the same way more or less.
Have you tried any of these products? Let me know in the comments!
This post showed you the 5 best ovulation tests and how to use them.


